
How to turn a reference image into a stronger prompt
A practical guide to extracting framing, subject detail, textures, mood, and structure from reference images without over-smoothing the result.
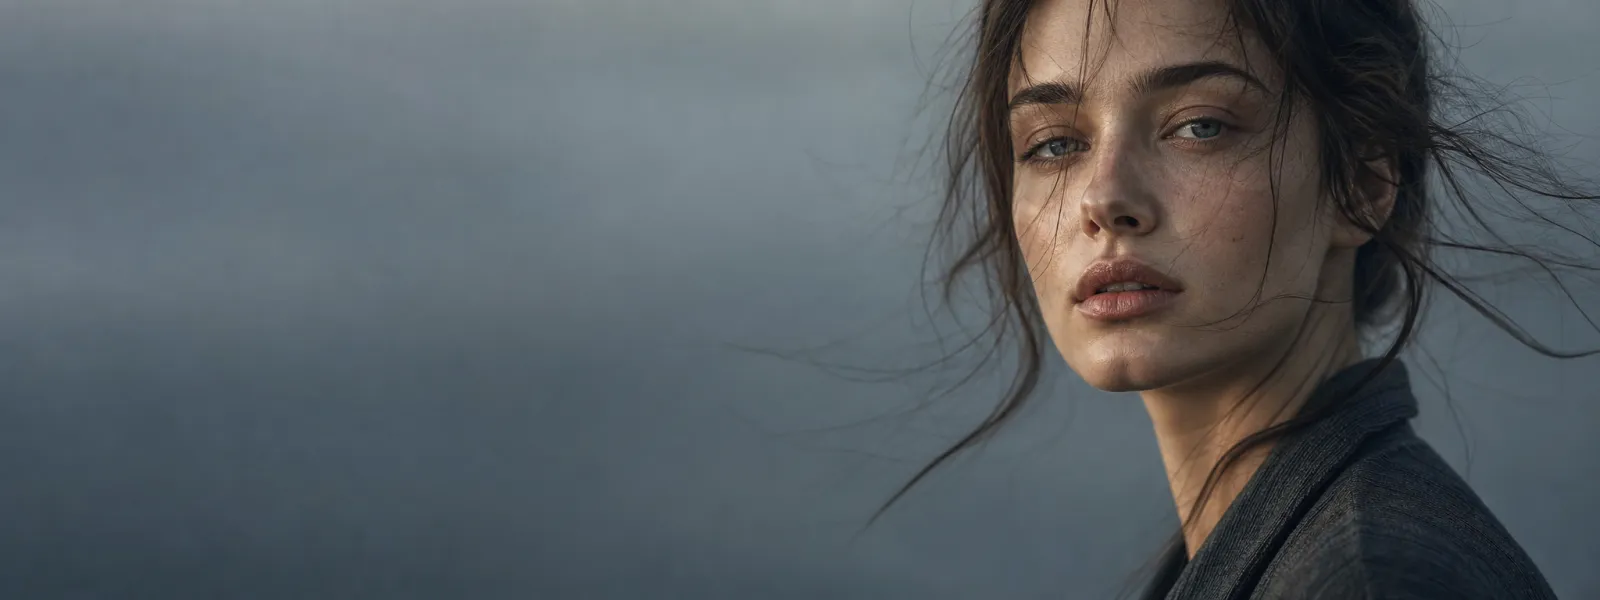
Why most prompt reconstructions fail
Many creators assume that a reference-image workflow only needs a basic subject description. In practice, that approach fails because image generation models react strongly to framing, subject scale, background distance, visible texture, and the relationship between foreground and negative space. If those details are lost, the generated output may feel inspired by the source image but not structurally close to it.
A stronger reconstruction workflow starts by identifying what must be preserved, not just what is present. In other words, you do not only describe a person, object, or scene. You define the visual logic that makes the image feel like itself. This is where a good Image to Prompt tool creates value: it captures the underlying composition instead of offering a generic caption.
At RONEAT Digital, the goal of the workflow is to help users move from a visual reference to a more reusable creative instruction. That means the output should remain useful across modern image models while still staying faithful to the mood, balance, and visible detail of the reference.
The core elements a professional prompt should preserve
A reliable prompt built from a reference image usually needs at least six layers of information. The first is framing. That includes crop, subject distance, camera angle, and whether the subject is centered, offset, or partially cut. The second is the main subject with its visible action or pose. The third is texture and material detail, including skin, fabric, metal, glass, atmosphere, or surface quality.
The fourth layer is environment. Background content does not need to be over-described, but it should still explain whether the scene is controlled, minimal, chaotic, urban, cinematic, or documentary. The fifth layer is lighting. This is one of the biggest reasons reconstructed images drift. Soft side light, flat studio light, moody top light, and bright overcast light all create very different outputs.
The sixth layer is constraint. Constraint tells the model what not to clean up or reinterpret. If the image has rough skin texture, visible clutter, damaged objects, dramatic shadows, haze, or candid imperfection, those details need to be protected. Otherwise the model will often beautify or simplify the scene.
- Preserve the crop before describing style
- Keep visible imperfections if they matter to the reference
- Describe what must remain, not only what looks attractive
- Use quality words carefully so they do not overwrite the scene
How to write prompts that stay closer to the source image
If your goal is closeness rather than inspiration, the final prompt should read more like a visual reconstruction brief than a marketing tagline. Start with the framing and subject relationship. Then define key visible details, environment, lighting, and only after that add quality direction such as high detail, 4K, or ultra-realistic rendering.
This sequence matters. When quality language appears too early, some models prioritize polish over resemblance. That can lead to smoother faces, cleaner scenes, or more dramatic but less accurate compositions. A stronger approach is to let the structure of the image lead the prompt while the quality wording supports the final rendering rather than replacing it.
The negative prompt also matters. If the reference includes roughness, candid emotion, heavy texture, or a documentary-like feel, the negative prompt should block beauty retouching, simplified anatomy, glamour lighting, and polished editorial cleanup. This helps protect the original character of the image.
How the RONEAT Digital workflow helps
The RONEAT Digital Image to Prompt tool is designed around reconstruction-first output. Instead of treating an image like a simple captioning task, it helps the user turn a reference into a layered prompt with structure, detail, and usable output sections. This is especially helpful when you need material for Midjourney, Flux, Stable Diffusion, or any tool where prompt clarity changes the result dramatically.
A good professional workflow should let you review the final prompt, structured prompt, and negative prompt separately. That gives you more control over how close or creative the generated image should become. It also gives your team better handoff material when multiple people are working across design, marketing, or production.